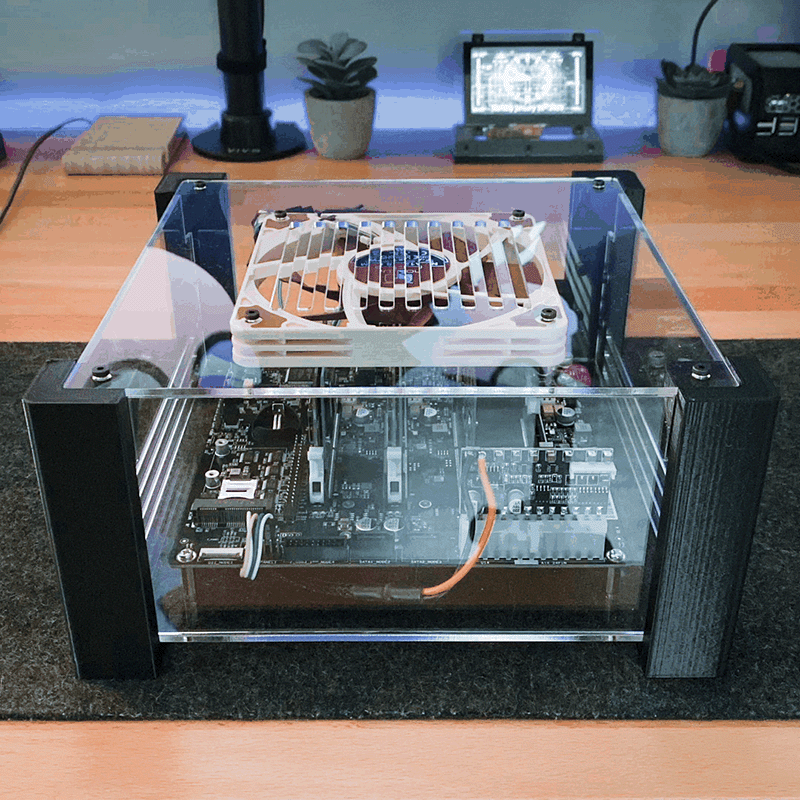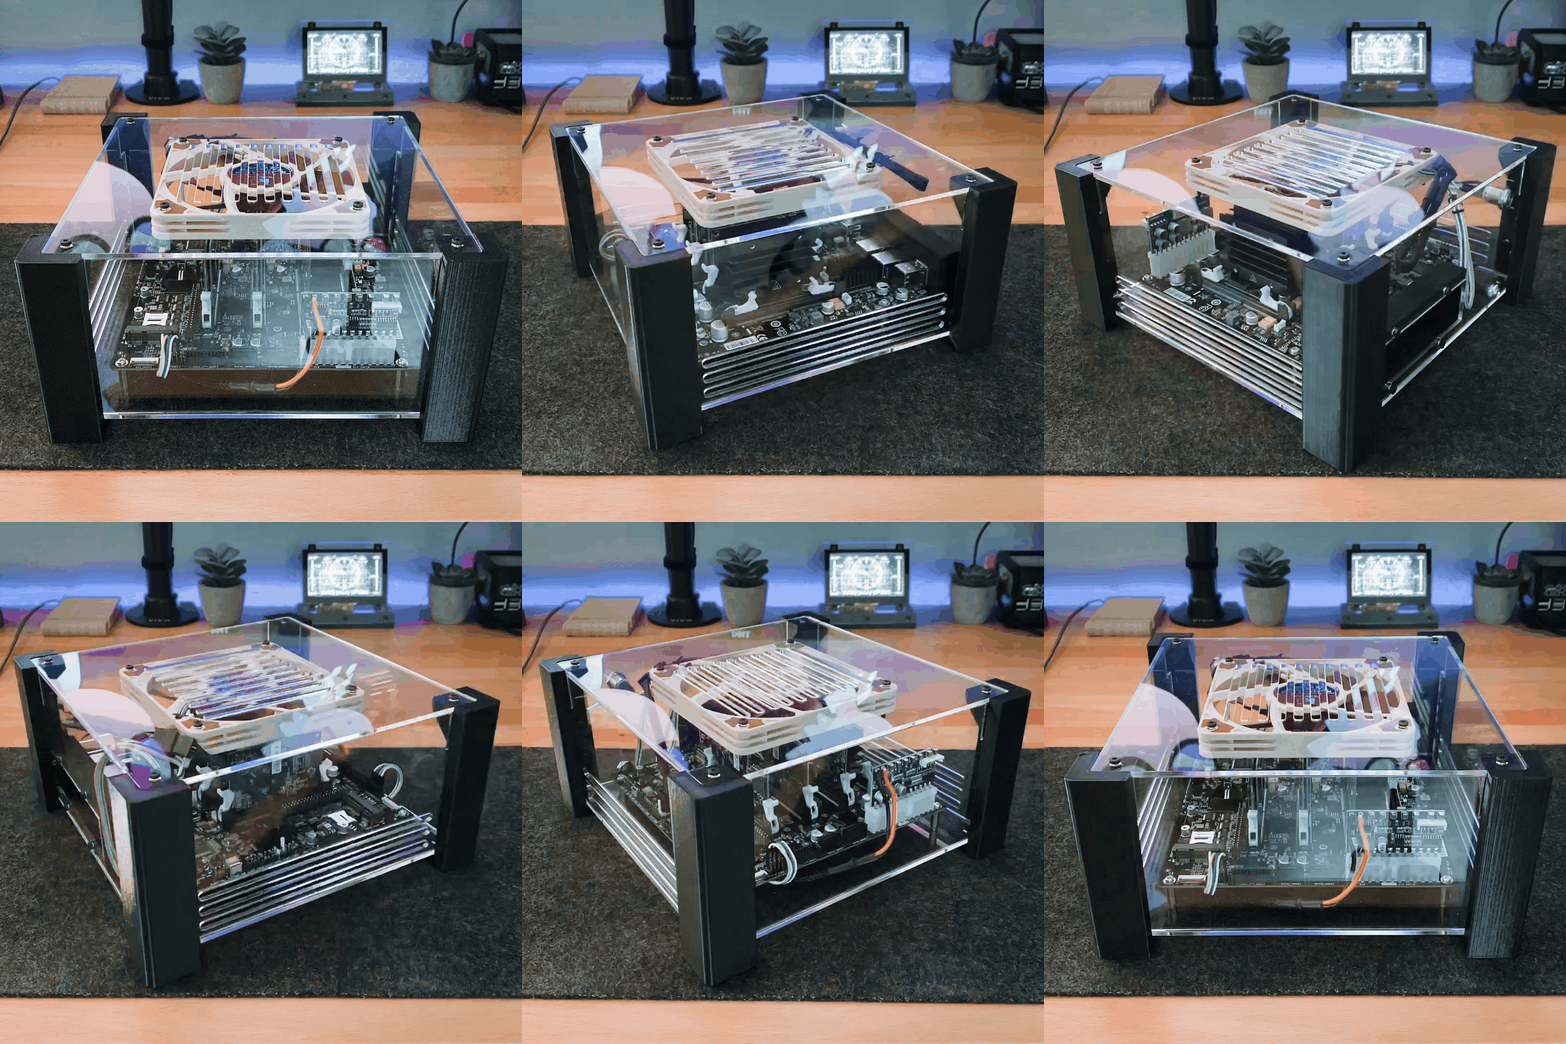
I recently got my Turing Pi 2 from the Kickstarter campaign and needed a case for it. The custom case from the stretch goals won’t we out for a while and I thought it would be better to design and make my own custom case to show off the Turing Pi 2. I decided on an acrylic and 3D printed case so that the Turing Pi 2 would be completely visible from all sides. Additionally, I already have all the materials needed to build the case from acrylic and PLA.
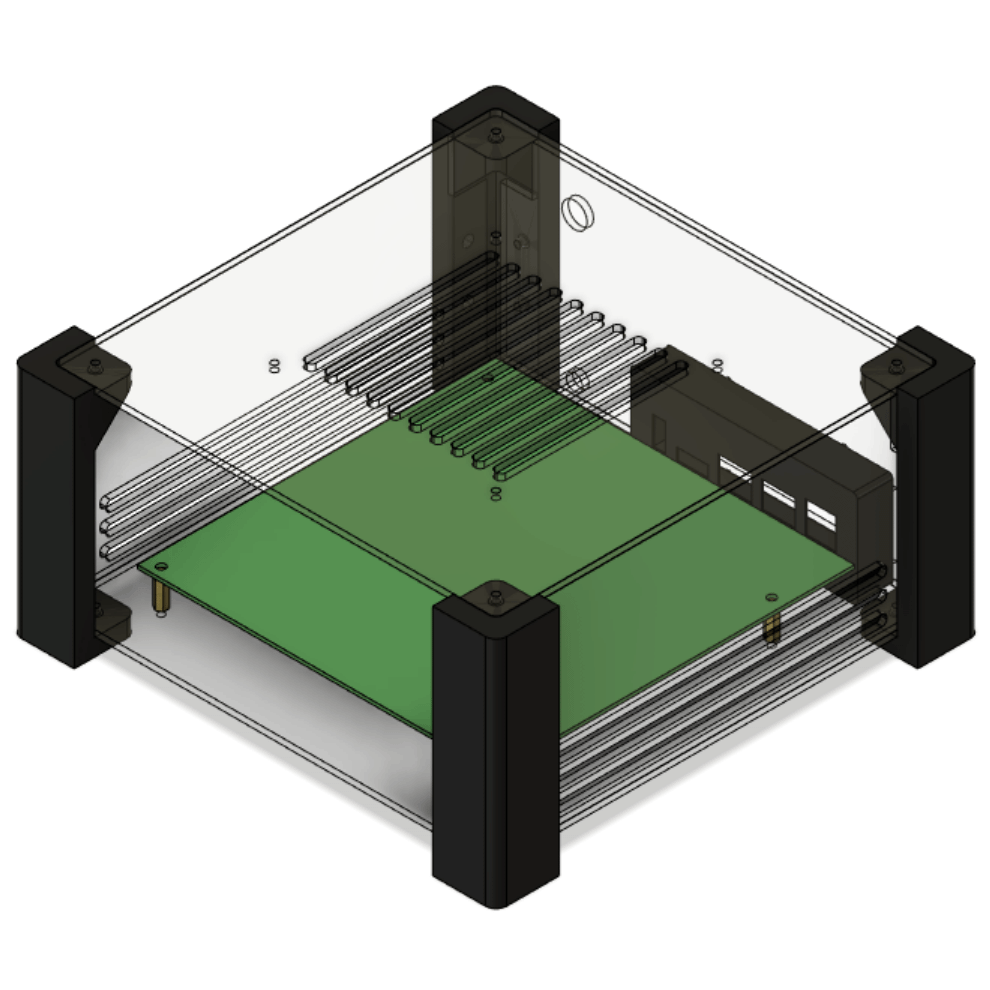
I designed the case in Fusion 360 and 3D printed a couple prototypes of the leg design before I ended up with one that I was happy with. After I was happy with the leg design, I could build the rest of the case around the legs. I started with the base, front panel, and side panels. From there I designed the lid and the various vents for adding in an optional 120mm fan. Then, I designed the back panel with a large cutout for the IO. The rendered sketch is shown in the image below.
I then printed out the legs on my Prusa 3D printer and cut out the acrylic panels on my Glowforge laser cutter. The last thing I had to design and print was the IO panel for the back plate. I measure the port spacings with some digital calipers and drew up the design in Fusion 360 before also 3D printing it. Once all the parts were printed and cutout, I could assemble the case.
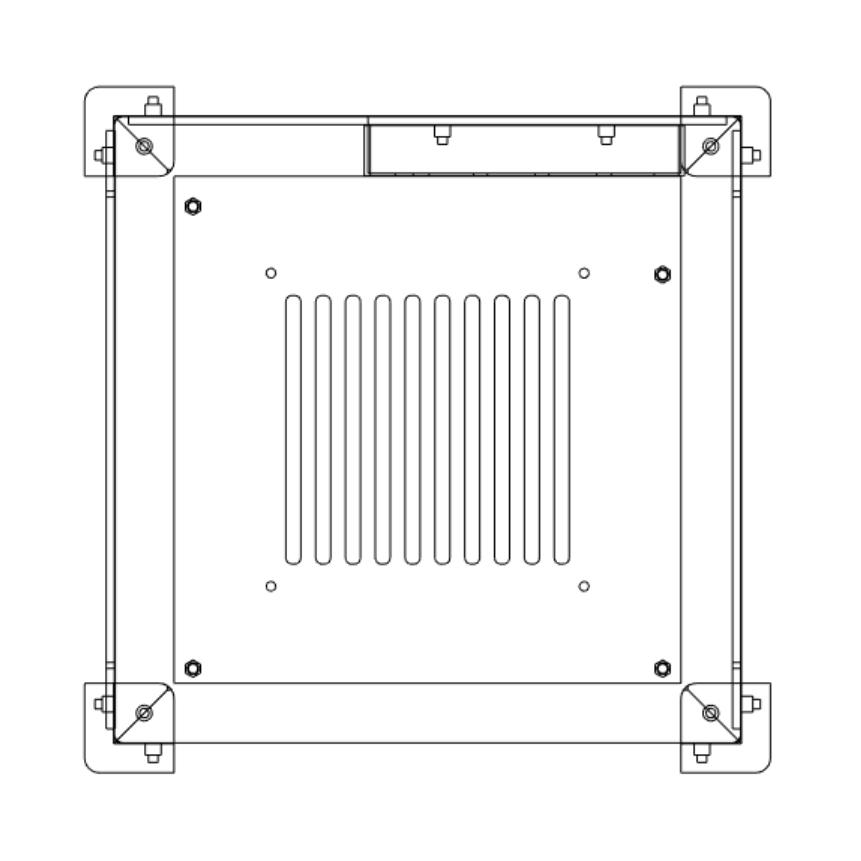
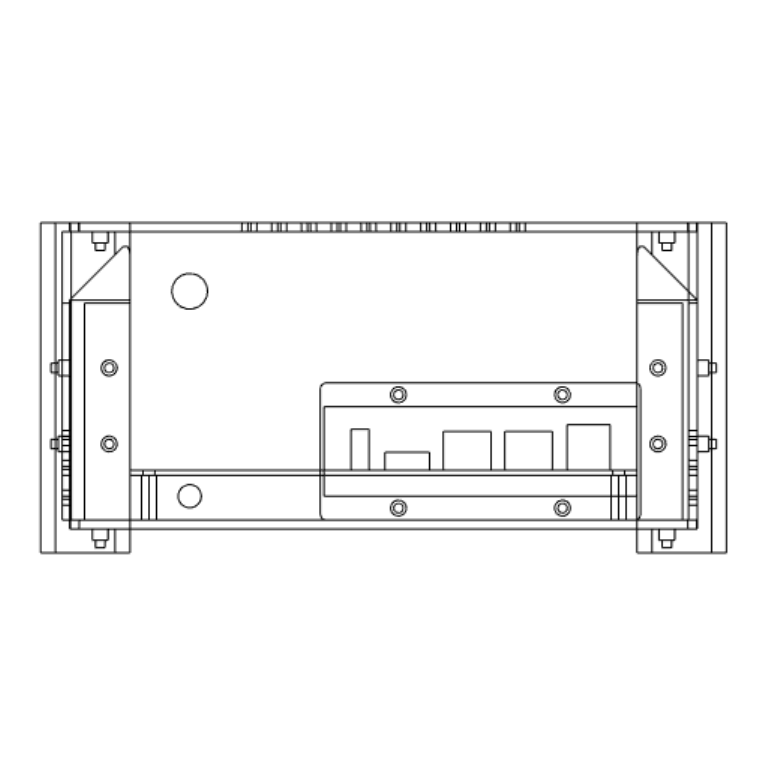
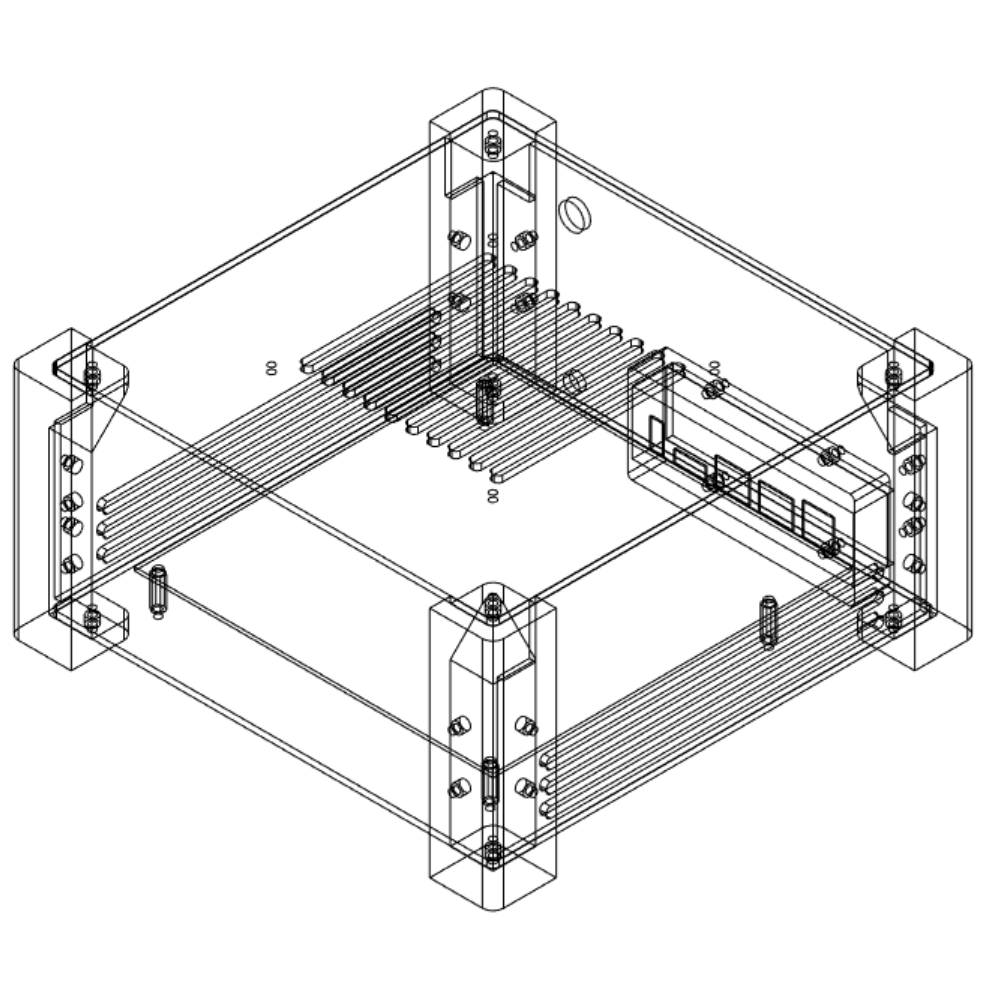
Assembling the case was a little more challenging than I anticipated due to some of the small spaces created at the corner of the case. If I had a smaller Allen wrench or one with a ball head, the assembly would have been much easier. The only other difficult part of the assembly was getting the power supply abd power buttons installed in the case while keeping the cables neatly organized under the Turing Pi 2 board. Overall, I am very happy with how the case turned out. If someone would like to build one for themselves, I have opened sourced the project files on my GitHub here.
