A smart touchscreen clock / dashboard based on the Raspberry Pi Zero.
Motivation
My motivation for this project was born out of my work on The Ark. The Ark and my other handheld projects started to stall out due to the lack of a sufficiently powerful battery charge/boost circuit. However, I really liked the screen I used in that project and wanted to use it again. So to avoid the battery circuit problem and reuse the screen, I came up with the idea of the SMRT CLK.
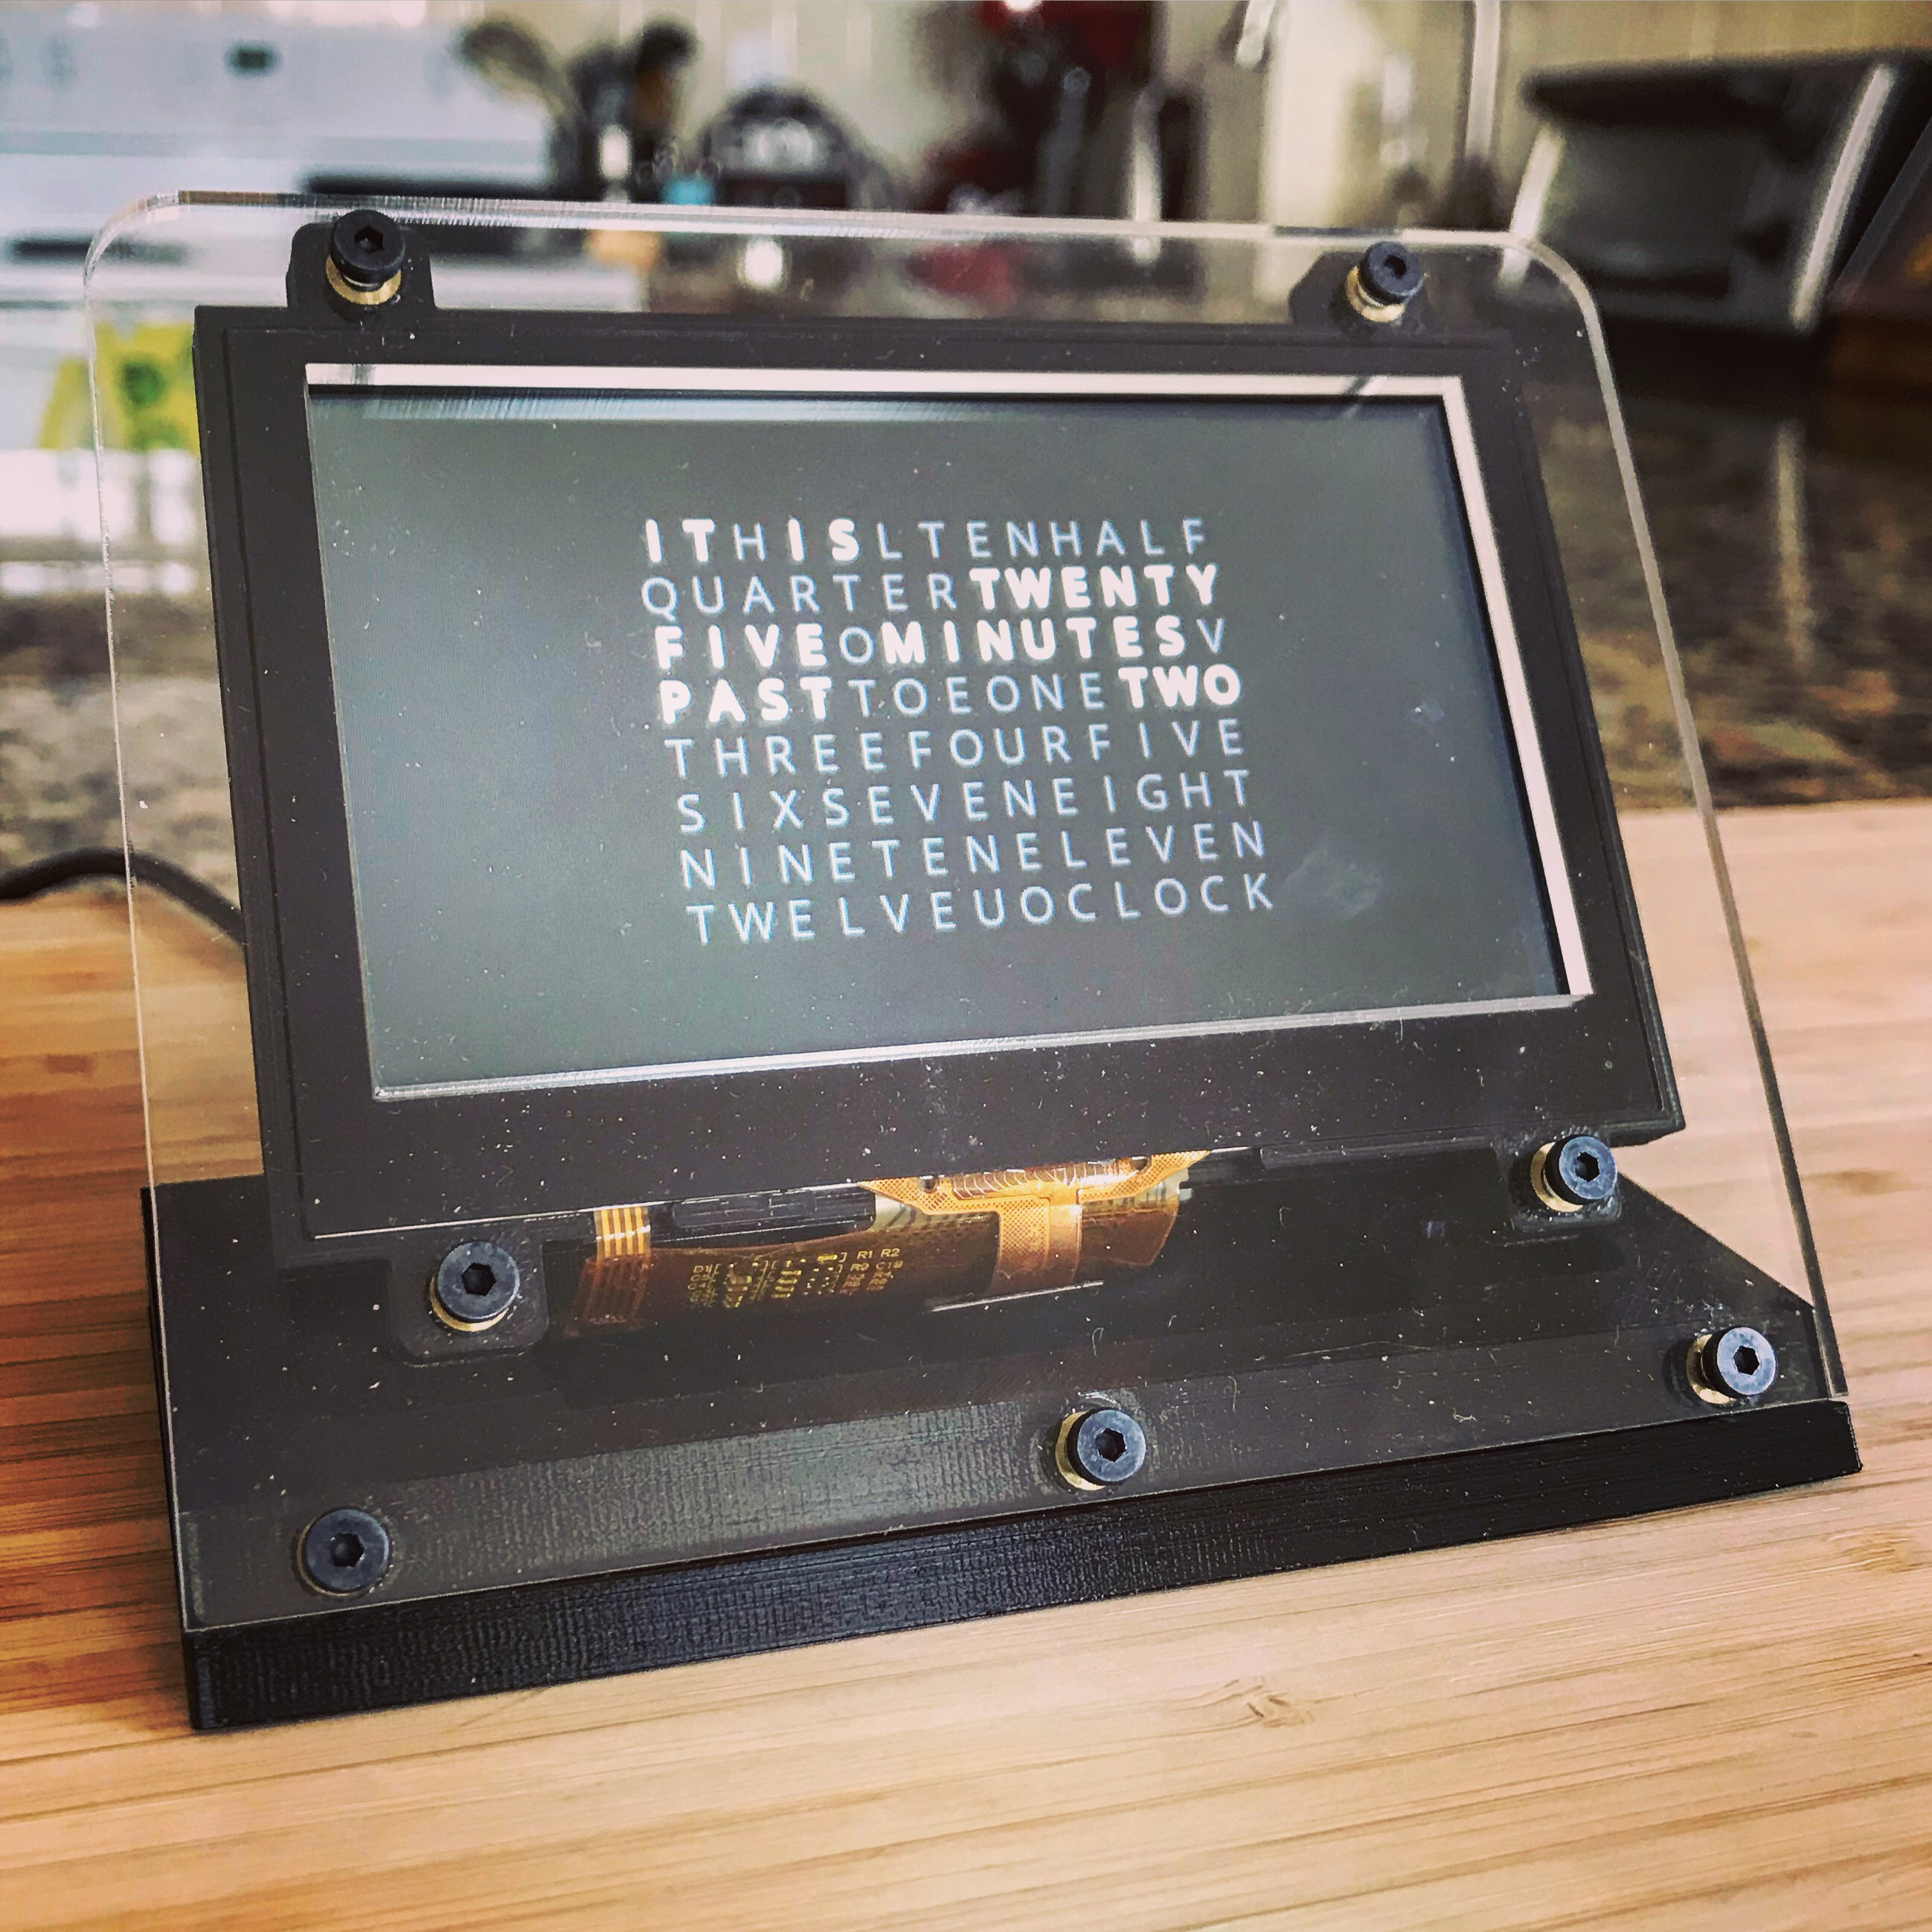
My favorite part about the SMRT CLK is its potential for customization. The form factor fits nicely on your desk and has both WiFI and a very responsive touch screen. Simple software is all that is needed to for a custom use case. You can use it as a clock, weather station, Twitter feed, or wireless thermostat, it's up to you!
Initial Prototype
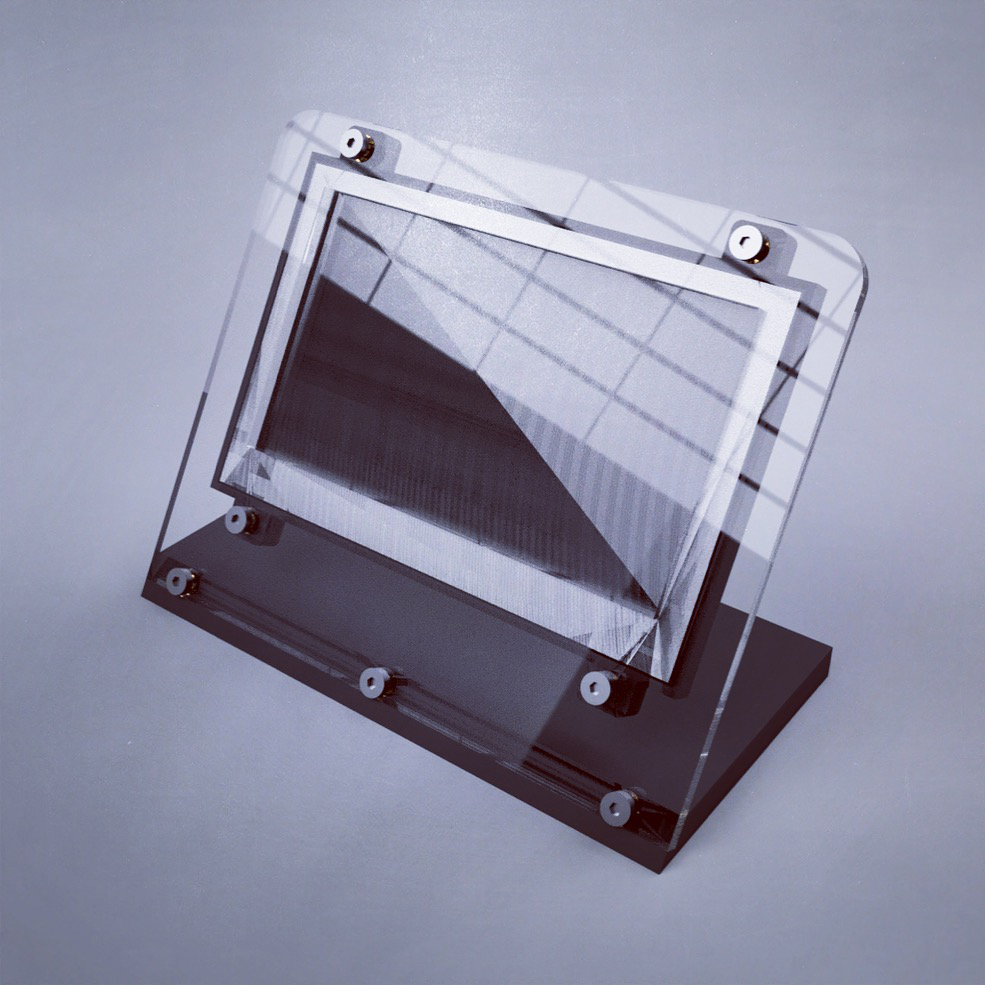
In past projects, I've been burned by designing the case and printed circuit board (PCB) in series instead of parallel. This has often led to the case clashing with components or components getting in the way of the most convenient mounting points. I made it a priority for this project to design the case and PCB in parallel. I started by making a rough 3D model of what I envisioned the final product would look like. You can see the result in the picture below.
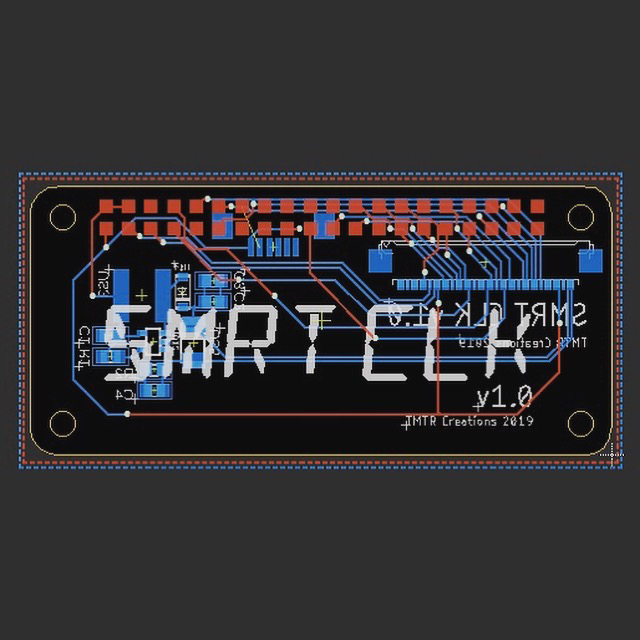
After I had the initial 3D design, I turned my attention to the PCB. I went through a couple iterations before arriving at the final design, making sure to update the 3D design as I iterated on the PCB. I initially wanted to prioritize easy board assembly but quickly realized I would have to compromise a sleek form factor. Using through hole mounts to attach the Pi to the board would be much easier to assemble but would result in a much thicker assembly, forcing the base to be much thicker. This thicker base did not have a nice aesthetic when contrasted by the small screen. The through hole design also made routing the traces much more difficult. In the end I decided to trade easy board assembly for a smaller and sleeker form factor. By switching to surface mount, I was able to keep the assembly much thinner. The figure below shows the final PCB design.
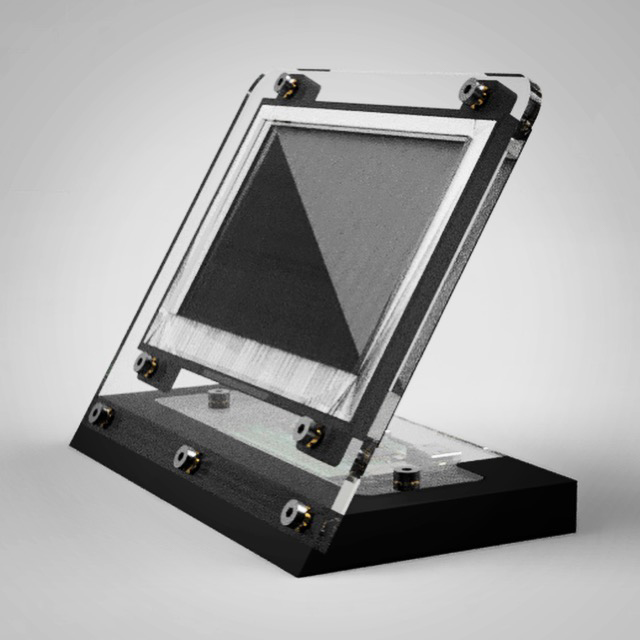
Once I was happy with the PCB design, I finalized all of the details on the case. This included designing a cover for the PCB and incorporating holes for threaded thermal brass inserts. I tried to include as many of these parts as possible in the 3D design to ensure there would be no issues when it came to assembling the prototype. The final 3D design is pictured in the figure below.
After finalizing v1.0 of the board and case, I was able to order the parts and materials needed to assemble the prototype. I ordered the PCB from OSH Park and ordered the pre-cut acrylic from Ponoko. I 3D printed the base and screen mount myself with a Prusa i3 mk2. I ordered a stainless steel PCB stencil with the PCBs to make assembling the board easier. I used the reflow oven I built to reflow the boards. Some of the fine pitch pins on the screen connector needed some cleanup work but was not too difficult. To solder the PCB to the Pi, I clamped the two together and injected solder paste into the through hole of the Pi and then reflowed them together with a hot air reflow station.
Final Design
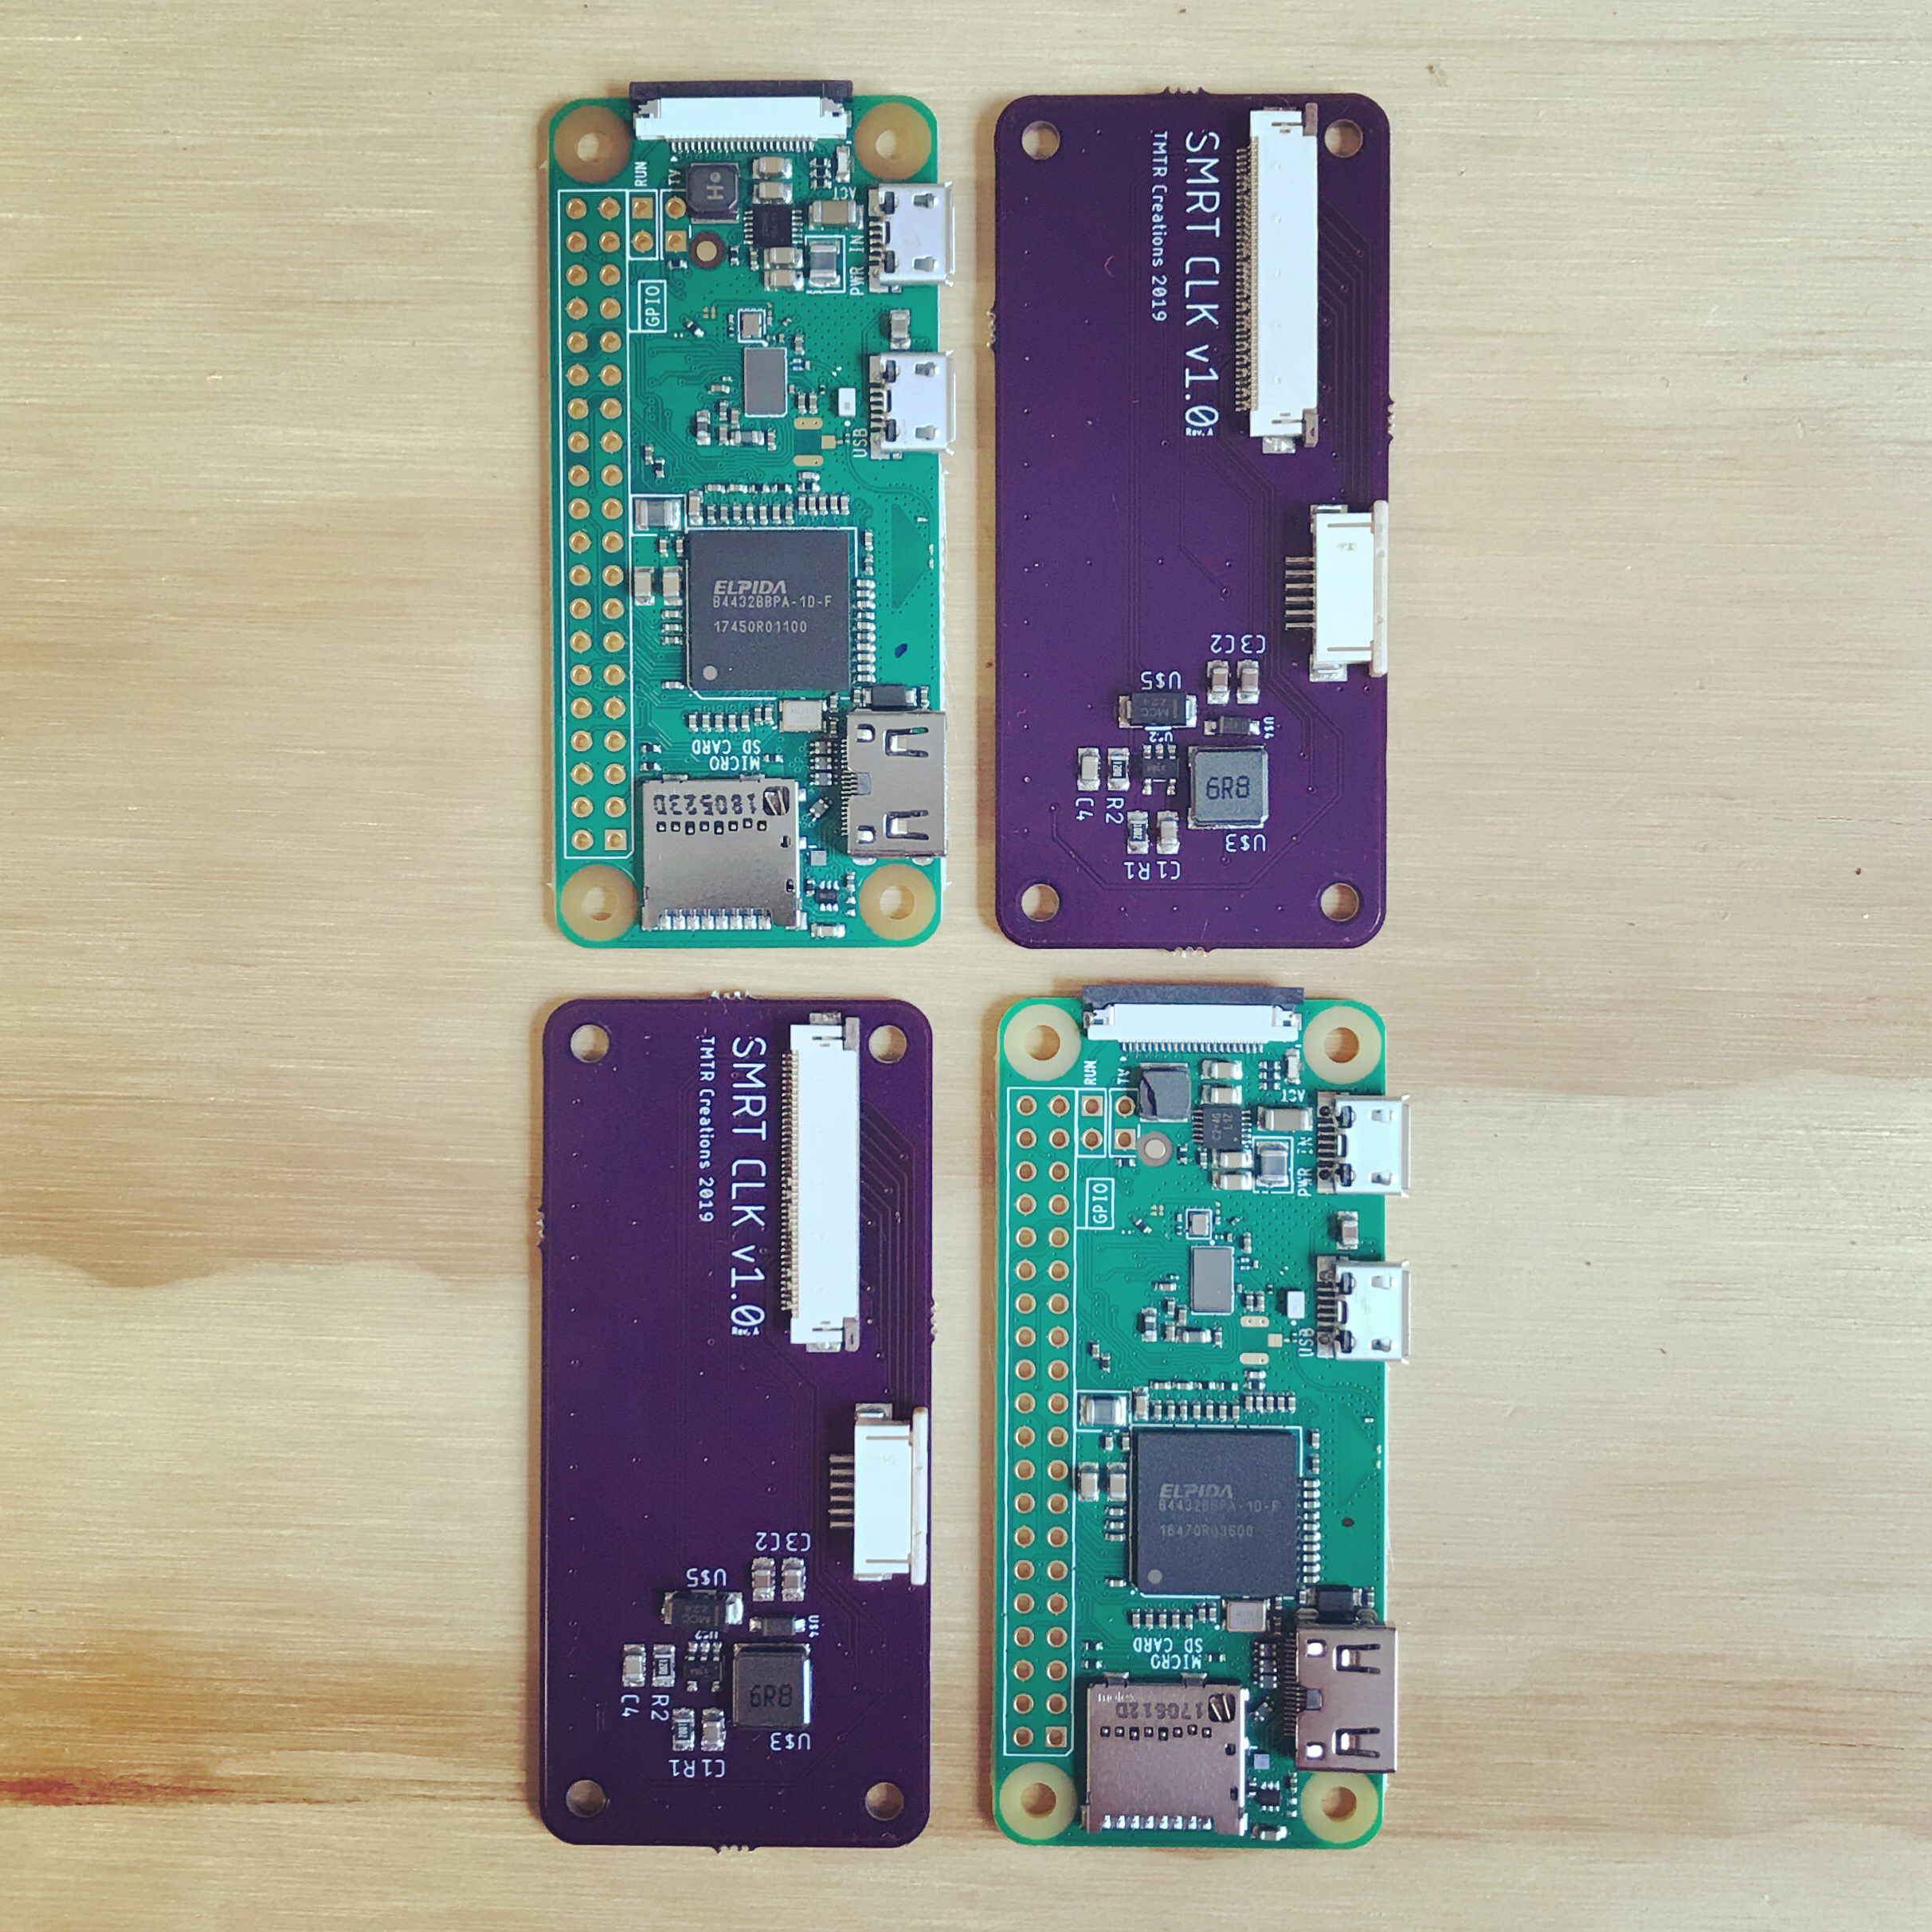
After assembling and testing the prototype PCBs, I discovered there was an error in the design and the touch screen was not working. I accidentally swapped the order of the pins for the touch screen connection which could not be fixed in software, so I made the quick fix in Eagle and reordered the new boards. After assembling the new boards, I was able to confirm that this fixed the problem. I could then put everything together. The figure below shows the assembled PCB alongside a Pi Zero before they were soldered together.
The video below shows a stop-motion of the final assembled and functional SMRT CLK.
Make Your Own
I have uploaded everything you need to make your own to a repository on GitHub. You can click here to check it out! If you end up making one yourself, I'd love to see the results. Reach out to me on Instagram with pictures of your build.