I recently purchased a Bitaxe Gamma solo miner to start my adventure in crypto mining. Below are some of my thoughts after purchasing and using it for a couple of weeks.
Two Month Update
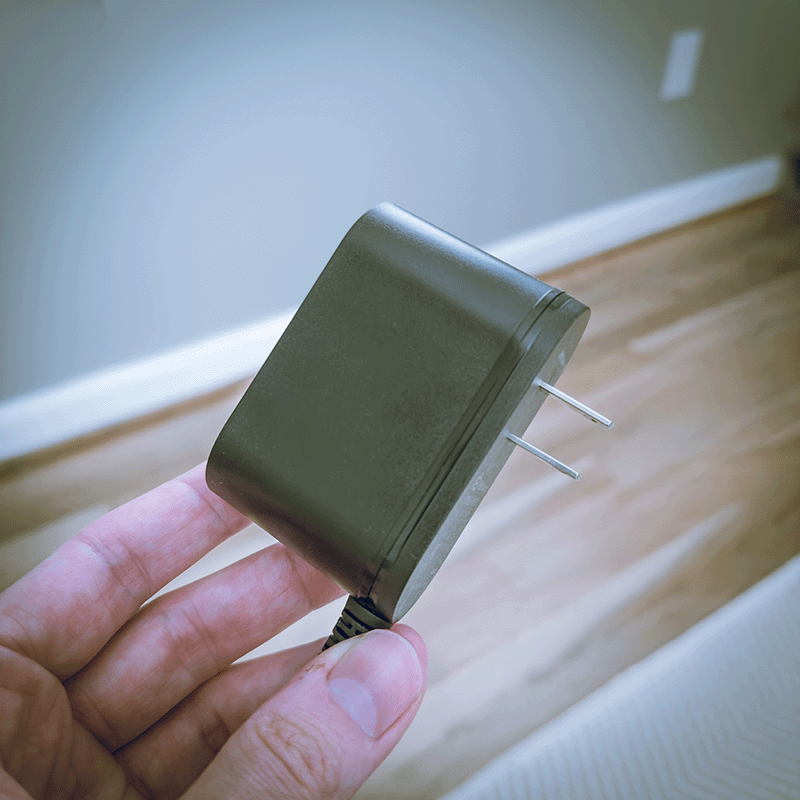
After two months of using the Bitaxe Gamma, I’ve had to replace the power supply that came with it. One day I noticed that the Bitaxe had powered off randomly and did not automatically restart. After trying a couple different things, I was able to determine that the power supply had failed. I was able to easily replace it with another compatible one that I got off Amazon. I would recommend that people stay away from this generic power supply that came with it. I have also seen this same one for sale on Amazon.
Introduction
As the world of cryptocurrency continues to expand, many enthusiasts are exploring the potential of crypto mining. I recently took the plunge and purchased a Bitaxe Gamma solo miner to kickstart my journey. In this review, I’ll share my experiences with the Bitaxe Gamma, covering its setup, performance, and overall value for new miners.
What is Bitaxe Gamma?
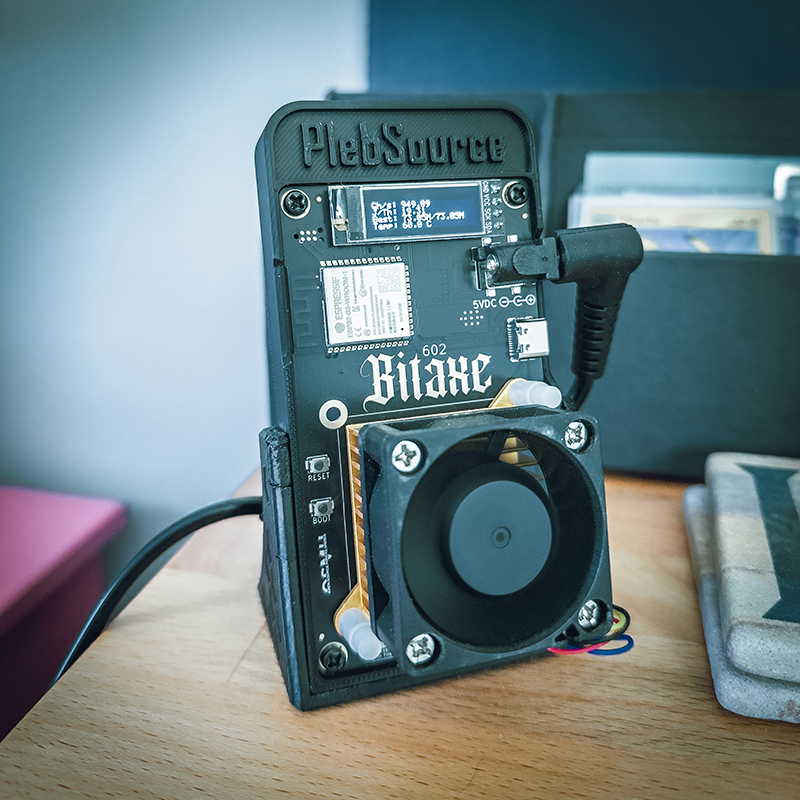
The Bitaxe Gamma is a compact solo miner designed for individuals looking to enter the crypto mining space. With its user-friendly interface and robust performance, it aims to make mining accessible to both beginners and experienced miners.
Key Specifications and Features
- Hash Rate: You can customize the power and clock settings to achieve varying performance and efficiency levels through the web portal. By default it targets 1.2 TH/s. Increasing the power and clock speed will also require modifications to the cooling setup to avoid overheating.
- Power Consumption: Designed to be energy-efficient, it minimizes electricity costs while maximizing output. With the settings I have chosen, the Bitaxe Gamma pulls about 18 W.
- Connectivity: It features easy Wi-Fi connectivity for seamless integration into your home network, but does require a 2.4 GHz connection. The Bitaxe Gamma also host its own web portal for monitoring status, changing settings, and updating the firmware.
- Cooling System: It comes equipped with an effective cooling system to maintain optimal operating temperatures during extended mining sessions. The stock cooling system cannot handle any real overclocking and will need to be modified if you are looking to squeeze some more hash rate out of the system.
Comparison with Other Mining Hardware
When compared to other solo miners on the market, the Bitaxe Gamma stands out for its balance of performance, affordability, ease of use, and small footprint. While some high-end models offer greater hash rates, the Gamma provides a solid entry point for those new to mining without overwhelming complexity or cost.
Setting Up the Bitaxe Gamma
Setting up the Bitaxe Gamma is a straightforward process, making it ideal for newcomers to crypto mining. I personally have not had any prior experience with mining and it only took me about 20 minutes to set it up. Here’s a step-by-step guide to get you started:
Step 1: Unboxing and Initial Inspection
Carefully unbox the Bitaxe Gamma and inspect all components to ensure nothing is damaged. I have seen some posts on blogs about the screen being damaged out of the box. The package should include the miner, power supply, and necessary cables. Depending on the supplier you may have also gotten a 3D printed stand included for free.
Step 2: Connecting the Hardware
- Stand Setup: If your Bitaxe Gamma came with a stand, you can screw the Gamma into the frame with the 4 self tapping screws. The frame then easily slides into the base.
- Power Connection: Plug the power supply into the miner and connect it to a power outlet.
- Network Connection: You will then have to setup the Wi-Fi connection during the initial configuration.
Step 3: Initial Configuration
- Accessing the Interface: Connect to the miner’s broadcasted Wi-Fi and then connect to the interface via a web browser using the provided IP address (usually found in the user manual).
- Setting Up Wi-Fi (if applicable): If using Wi-Fi, navigate to the network settings and enter your Wi-Fi credentials. The Bitaxe Gamma only supports 2.4 GHz Wi-Fi networks, so ensure your router is configured accordingly. It will then connect to your home network. You can then access the miner’s web portal through your home network using the IP address assigned by your router and displayed on the Bitaxe Gamma’s screen.
- Mining Pool Configuration: Choose a mining pool and enter the necessary details, including your wallet address and pool server information.
Step 4: Optimization Tips
- Firmware Updates: Check for any firmware updates to ensure optimal performance and security.
- Cooling Setup: Ensure the miner is placed in a well-ventilated area to prevent overheating during operation.
With these steps completed, your Bitaxe Gamma is ready to start mining!
Impressions after a Month of Use
Overall I have been very pleased with the Bitaxe Gamma. It has been running smoothly for the past month, and I have not had any major issues with it. I have updated the firmware once to the latest version and it was a simple process through the web portal. The settings out of the box had to be tweaked a bit to prevent the occasional overheating, but after adjusting the power and clock settings, it has been running stable. My best difficulty so far has been around 4.15G, and I have been able to achieve a hash rate of around 1.0-1.2 TH/s consistently.
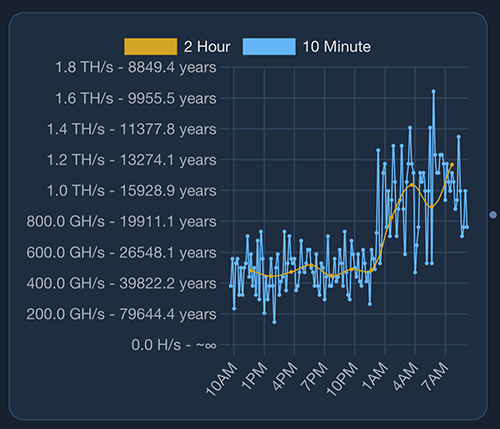
The single issue I have had is an instance where the miner dramatically dropped in hash rate for no apparent reason. After resetting the miner, it returned to normal operation. I took a screenshot of the web portal at the time, and it showed a hash rate of 0.5 TH/s for an extended period of time.
Conclusion
The Bitaxe Gamma solo miner has proven to be a reliable and efficient entry point into the world of crypto mining. I have been very happy with my purchase and would recommend it to anyone looking to start mining without the complexity of high-end hardware. Even though I do not ever expect to make back the cost of the miner, I have enjoyed the experience and learning process and it makes for a great piece of tech to have on display at my desk.