The Flipper Zero is like the Swiss Army knife of hardware hacking tools and is now fairly available for purchase. I was finally able to get one and the first thing I wanted to try was to modify the WiFi dev board to explore WiFi data scraping and penetration testing. There are plenty of guides and videos out there on how to install the ESP32 version of the Marauder firmware on the WiFi dev board. However, I wanted to try my own approach so that I could learn more along the way.
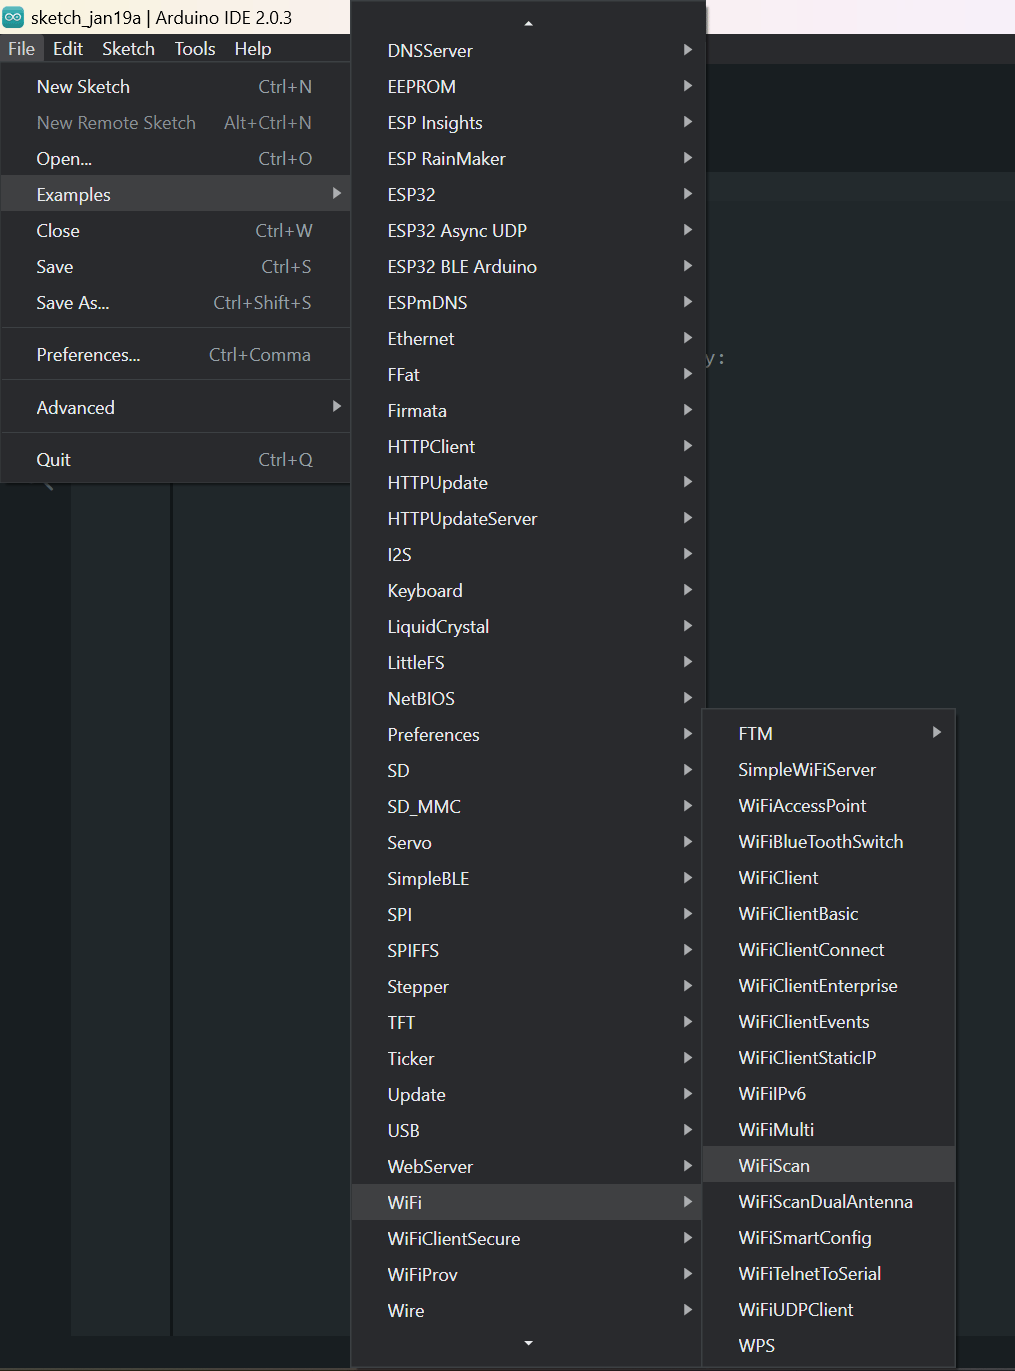
The WiFi dev board is based on the ESP32S2 dev module. To flash new code to the board, you can use the Arduino IDE after some setup in the IDE. There are other guides out there to setup the Arduino IDE and I will not go through those steps here. You can find the official guide here: “Installing Using the Arduino IDE” Once the Arduino IDE is setup to work with the ESP32, you can start sniffing WiFi access points (APs) with the script bundled in the Arduino IDE Examples > WiFi > WiFiScan. Once you have the script open, you can flash it to the WiFi dev board.

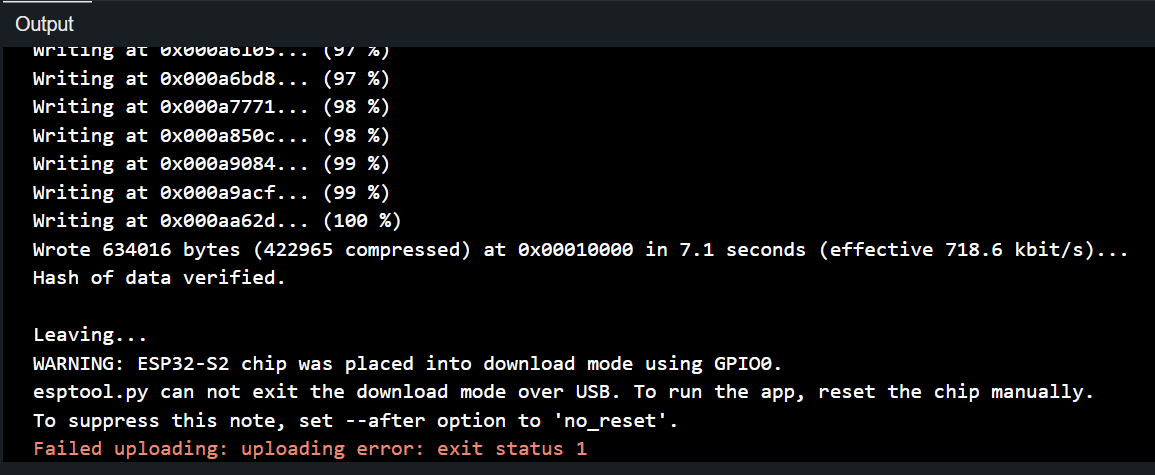
To flash a new script to the WiFi dev board, you need to hold down the boot tactile switch while plugging in the USB-C to your computer. You will know if this was successful because the device will show up as a COM port in the Arduino IDE. Once you have set the COM port, you can flash the code to the board. The IDE will throw an error after writing to the board because it cannot automatically reboot the board. The WiFi dev board must be manually rebooted with the reset tactile switch to begin running the new code.

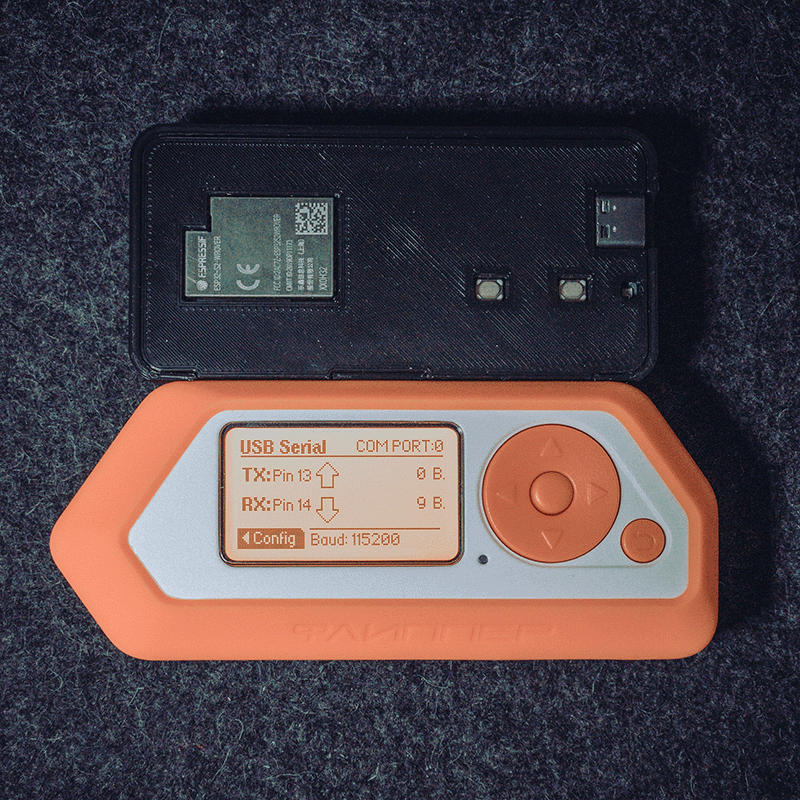
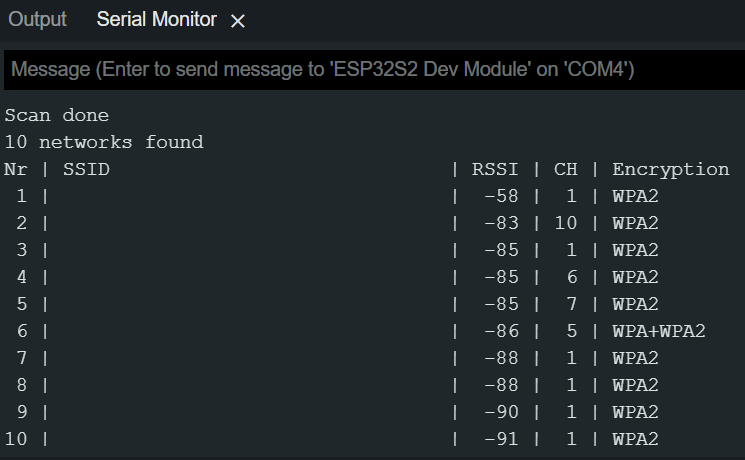
Once you have flashed the WiFi dev board, you will need to plug it into the Flipper Zero and use it in tethered mode with your laptop or other computer. You can put the Flipper Zero into a pass-through mode by going to GPIO > USB-UART Bridge. You will also most likely need to modify the config to set the baud rate to 115200. This is shown in the picture below. Now, plugging the Flipper Zero into your computer and opening up the serial monitor on the Arduino IDE, you should see the WiFi can data streaming from the WiFi dev board through the Flipper Zero to your computer.


This is not super useful on its own because you are still tethered to a computer and your computer can already replicate this functionality. For example, on MacOS, you can do a scan using the command below.
/System/Library/PrivateFrameworks/Apple80211.framework/Versions/A/Resources/airport scan
In the future, I want to write a custom app for the Flipper Zero to log this data to the uSD card so that you can track WiFi APs you find as you travel with your Flipper Zero. Hope this helps someone get started in their journey with the Flipper Zero.