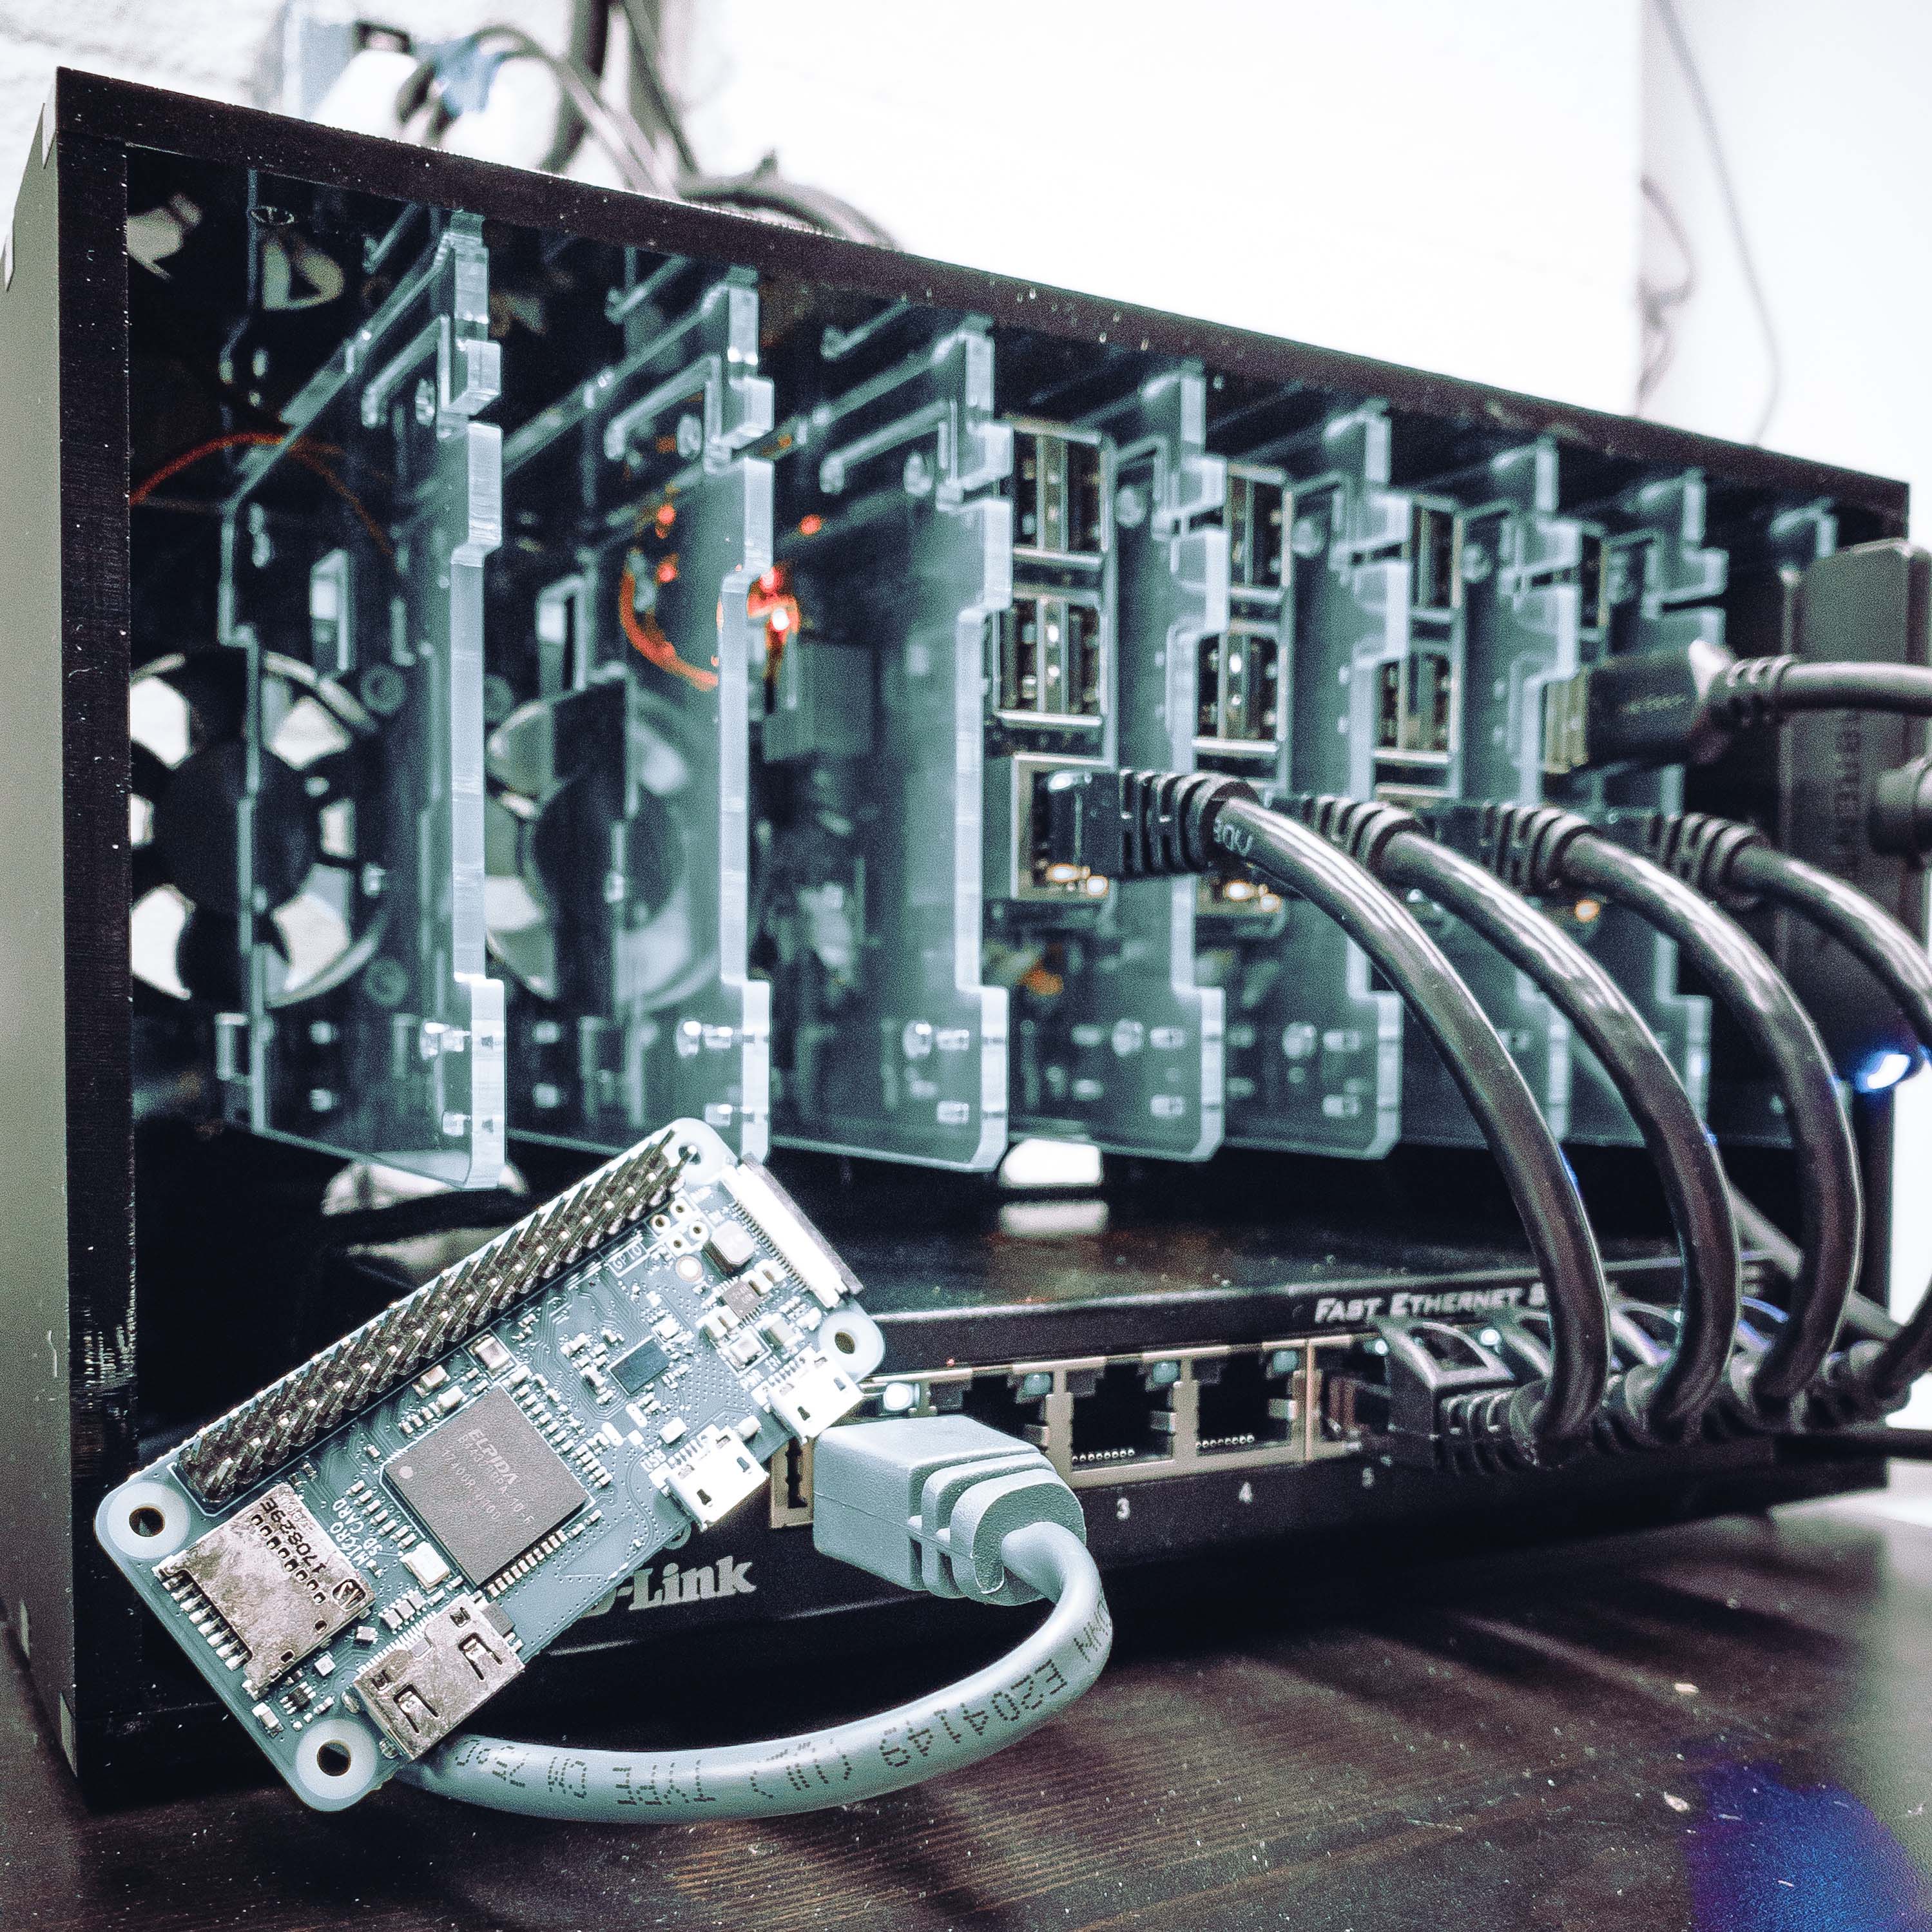
I have a number of extra Raspberry Pis laying around no longer serving their original purpose. I also do not have an immediate need to use them in another project and they are slowly becoming obsolete as newer and faster Pis are now on the market. So, I decided to assemble them into a Raspberry Pi cluster to utilize their compute and work on some distributed computing projects. Below, I briefly outline the parts I used, some issues I encountered during assembly, and how I setup Slurm Workload Manager to cluster the nodes together.
Parts
Below are the list of parts I used to build my Raspberry Pi cluster. I opted to use some parts that are overkill, like the power adapters, in case I ever want to upgrade some of the nodes to the newer models of Raspberry Pi.
- 8-Slot Cloudlet Cluster Case
- 4 Raspberry Pis:
- 1x Raspberry Pi 3 Model B Plus Rev 1.3
- 1x Raspberry Pi 3 Model B Rev 1.2
- 2x Raspberry Pi 2 Model B Rev 1.1
- D-Link 8-Port Ethernet Switch
- 256 GB SSD
- SATA to USB Adapter
- 4x 32 GB uSD Cards
- 4x USB-C to Micro-USB 3ft Cables
- 2x Case-Mate FUEL 40W Dual USB-C Power Adapters
- 4x 6-inch Ethernet Cables
I was able to get all of the parts for the project other than the Cloudlet Case at my local Micro Center which was super convenient.
Assembly
The physical assembly of the cluster was pretty straight forward following the instructions included with the Cloudlet Cluster Case. The only issues I had were:
- I had to reverse two of the screws on one of the fans so that they did not interfere with the SSD bay.
- A couple of times I pinched the fan wires. Since they are powered from the Pis, there is not a good way to cable manage these since slack is required to remove a Pi from its bay.
- The mounting screws and standoffs were not easy to match together. There seemed to be two different thread types (coarse and fine) included for some reason.
- The ethernet switch could not be pushed as far back into the case as I would like due to collisions with the power cables attached to the Pis. I wish I had gotten right-angle cables to avoid this issue.
Setting Up Slurm Workload Manager
To setup the Slurm Workload Manager, I mostly followed the guide from Garrett Mills but modified the names of the cluster and nodes to my liking. The major deviations I took from the guide are as follows:
- Since I have different models of Raspberry Pi, I flashed the 32-bit version of the OS so that all the nodes have the same version.
- I also made the Raspberry Pi 3 Model B Rev 1.2 the dedicated head node (running the SSD and shared filesystem) since it was the middle of the pack in terms of specs.
- I setup an SSH key so that you can SSH between all the nodes without needing to enter in a password.
- For Step 5.6: Reboot. (optional) I had to reboot every node to get Munge working properly.
- The version of Slurm I am using seems to create a race-condition on the head node after a reboot. If the network has not been initialized first, slurmctld fails to start properly. This can be fixed by running:
sudo systemctl start slurmctldafter any reboot of the head node.
Testing Slurm and Cluster Use Case
To test that I have everything configured properly, I decided to run the “Python Quickstart” example for TensorFlow Lite and benchmark the performance of MobileNet on the different compute nodes. This will verify that Slurm is working correctly and that I can use the cluster for one of the use cases I had in mind.
To run the TensorFlow Lite demo on the cluster, I first created a conda environment in the shared cluster folder. It is important to note that you must use the --copy flag so that all the needed files are copied to the folder; this ensures that every node can use the environment. I also downloaded all of the needed files for the demo and modified the Python script as required. Next, I created a batch script to launch the demo on the cluster. The launch.sh script is shown below.
#!/bin/bash
#SBATCH --nodes=1
#SBATCH --partition=picluster
#SBATCH --exclusive

hostname

source activate /clusterfs/tf-lite
cd /clusterfs/tflite-demo

python label_image.py --model_file mobilenet/mobilenet_v1_1.0_224.tflite --label_file labels.txt --image grace_hopper.bmp
The job can then be launched using the command:
sbatch --array=[1-3] launch.sh
The output of the job is stored in .o files. The results from the demo script are shown below.
pi-clust-node01
discarding /clusterfs/tf-lite/bin from PATH
prepending /clusterfs/tf-lite/bin to PATH
0.919720: 653:military uniform
0.017762: 907:Windsor tie
0.007507: 668:mortarboard
0.005419: 466:bulletproof vest
0.003828: 458:bow tie, bow-tie, bowtie
time: 534.337ms

pi-clust-node02
discarding /clusterfs/tf-lite/bin from PATH
prepending /clusterfs/tf-lite/bin to PATH
0.919720: 653:military uniform
0.017762: 907:Windsor tie
0.007507: 668:mortarboard
0.005419: 466:bulletproof vest
0.003828: 458:bow tie, bow-tie, bowtie
time: 1145.399ms

pi-clust-node03
discarding /clusterfs/tf-lite/bin from PATH
prepending /clusterfs/tf-lite/bin to PATH
0.919720: 653:military uniform
0.017762: 907:Windsor tie
0.007507: 668:mortarboard
0.005419: 466:bulletproof vest
0.003828: 458:bow tie, bow-tie, bowtie
time: 1127.191ms
It can be seen that node01 is nearly twice as fast as the other two nodes. This is due to the fact that node01 is a Raspberry Pi 3 Model B Plus Rev 1.3 and the other two nodes are a Raspberry Pi 2 Model B Rev 1.1. In a future post, I will benchmark some deep learning models on various Raspberry Pi models as well as on a desktop CPU and GPU.
I hope this post has inspired someone to try out some parallel computing projects!